]]>
Manually Creating Sales Items
To create a new sale item, from the Main Menu:
Select Sales Item Routines, the following menu will appear.

– Sales Item Routines Menu –
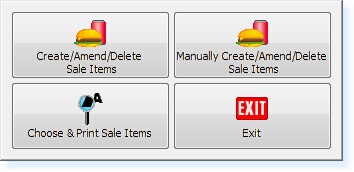
Select the Maintain Sale Items option, the following menu will appear.

– Sales Item Menu –
Now select the Create/Amend/Delete Sale Items option, a sales items record entry screen will now appear.

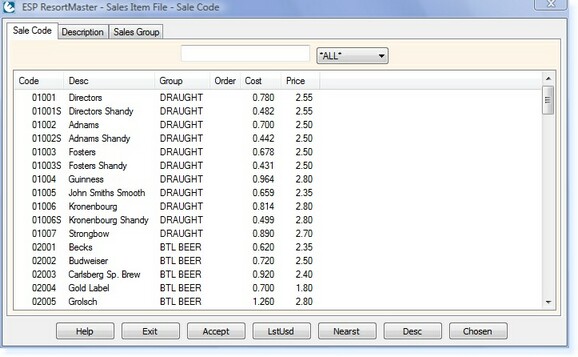
– Sales Item Filter Screen –
Enter a Code (PLU) for the sales item you wish to create. The code should follow a consistent format.
Select Enter and a warning message will appear.

– ‘Add Record’ Prompt –
Select Yes at this point to create the new item. The following screen will now appear.

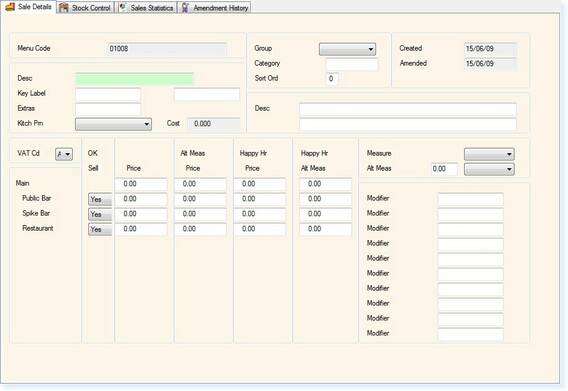
– Sales Item Record –
The first field to enter is Description, this will print on the receipt, press Enter.
There are two fields called Key Label, this is where the text required on the screen button is entered.
The Kitchen Printer field is only used for items that require a separate ticket printed to the kitchen, press Enter.
The relevant sales Group should be selected from the list and the Category field may be populated with any category, this is only used for searching for items by category.
Press Enter until the cursor is in the Price field alongside Main, enter the relevant retail price, press Enter until the cursor is in the Measure field.
This is where the measure is entered, an alternative measure may be entered in the field below. The number field next to these must be entered as a decimal value of the original measure. See example for Carling Lager below.

– Measures –
This is indicating that a ‘half’ is 0.50 of a ‘pint’.
Press Enter again, the cursor will now be in the modifiers section. See Maintain Modifiers for an help on creating these.
Select F2 Exit twice to exit and save the record.


