]]>
Back Office
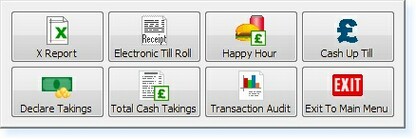
From the Main Menu, select the X Reports option. After entering an acceptable password, the X Reports Menu will appear.

– X-Reports Menu –
Once the monies have been counted, they must be declared through the system. Within the X Reports menu select the Declare Takings option, the following menu will appear.

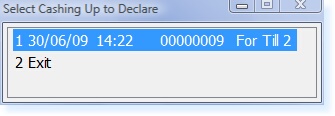
– Deferred Cashing-up’s –
The appropriate till must be selected from the list. The number (e.g. 00000009) represents the Declaration/Cashing-up Number which will also be printed on the Declaration Receipt when you previously select Cash-up Till.
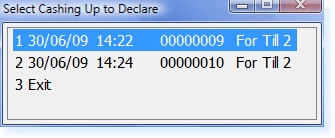
If Cash Up Till is selected more than once, a second option for the same till will appear. This must be selected after the correct cash-up is complete and declared as zero.

– Deferred Cashing-up’s –
This menu will list all outstanding cash ups; index number, date, time, unique reference and till name are shown. Match the correct cash up by using the unique 8-digit reference and click on the option. The following screen will be displayed.

– Cashing-up Amount –
From this menu the total takings (excluding internal/credit accounts) should be entered. Then select F3 Accept.
The system will now prompt whether or not to continue with the total entered. Choose Yes to continue.
The system will now run the cash up routine and return to the X Reports menu.
Cashing up is now complete.


