]]>
Adding Templates
There are two ways of adding templates to the booking screen:
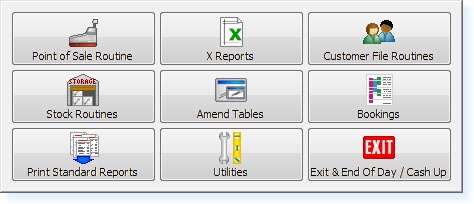
From the Main Menu of the Retail System, select Bookings.
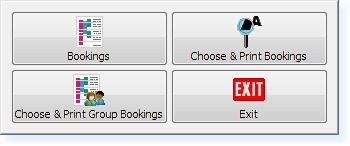
The following menu will appear. Select Bookings
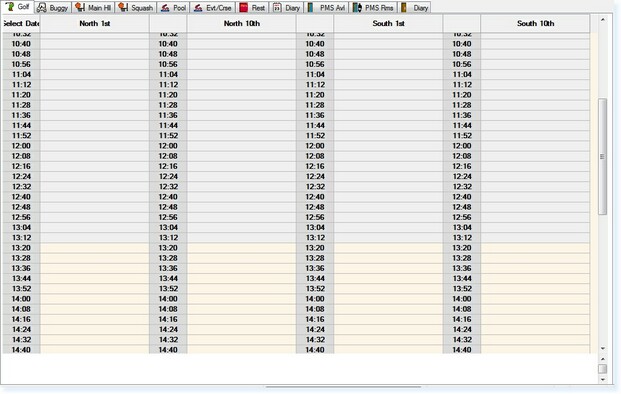
The bookings screen will now appear as below.
Within the Bookings screen, select F7 – Action. The Action Menu will appear.
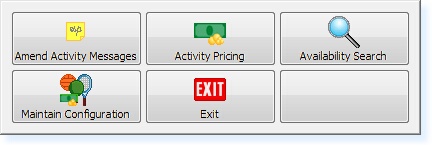
From the Actions Menu, select Maintain Configuration and the following menu will be shown.

From this menu select Maintain Calendar. The screen will now resemble the one shown below.
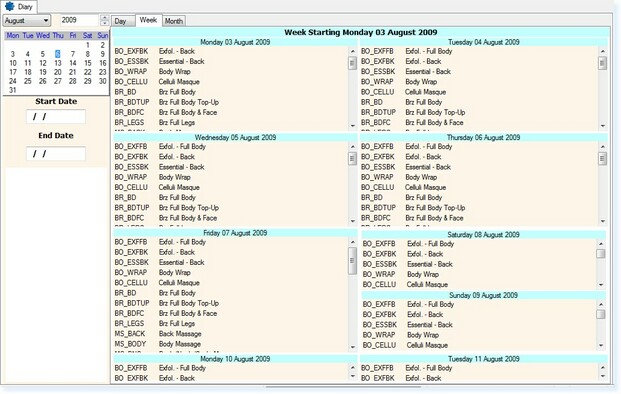
On the left hand side there are options for the Start and End Date. Enter the required dates in these fields and select F7 Action, the following menu will appear.

Now select the Add Template option in the top left of the menu and a list of available templates will appear as below.

Select the required template from the list. A similar message to the one shown below will be displayed.

By selecting Yes the template will be added to the calendar and the system will return to the Calendar View.
If any changes are required, the template must first be removed. See the Removing Templates section.
To add a Template through the Templates Menu, go to the Configuration Menu.

From this menu select Maintain Templates and a new menu will appear as below.

Select the Add Templates To Calendar option. The following window will appear displaying the available templates.

Highlight the required template and select OK. A new window will appear as below.
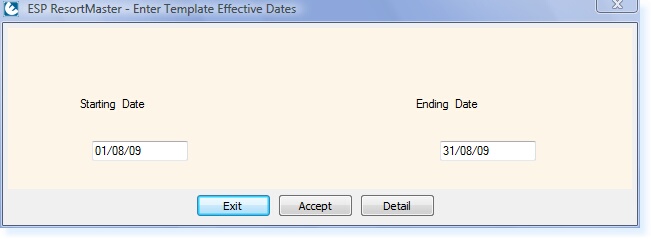
Input the starting and ending dates and select F3 Accept. You will then receive a prompt similar to the one below.

Select Yes at this point to confirm.
The template has now been successfully implemented, the system will return to the Templates File menu.
Once the template has been added to the booking screen, if any changes are required, the template must first be removed. See the Removing Templates section.


